Control
assembly proces
Qualification
solder paste
Prevention
failures
OUR OFFER
PreventLab is equipped with top-of-the-line equipment from Nordson Dage.

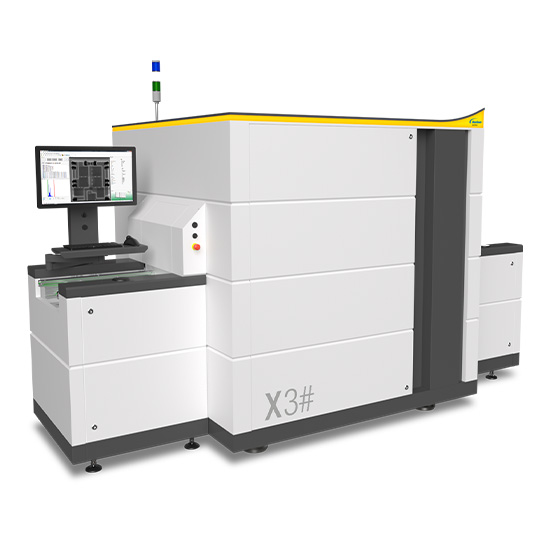
NORDSON X3#
MatriX X3# is an automated inspection system designed for sophisticated high-speed inspections in SMT production.
Teconologies:
Slice-Filter-Technique (SFT)
Patented X-ray technology.
Off-Axis e 3D SART
They represent a reliable solution for inline inspection of double-sided PCB assemblies.
The mobile detector's axes allow for high-speed off-axis image acquisition from various angles and directions with maximum image quality and resolution.


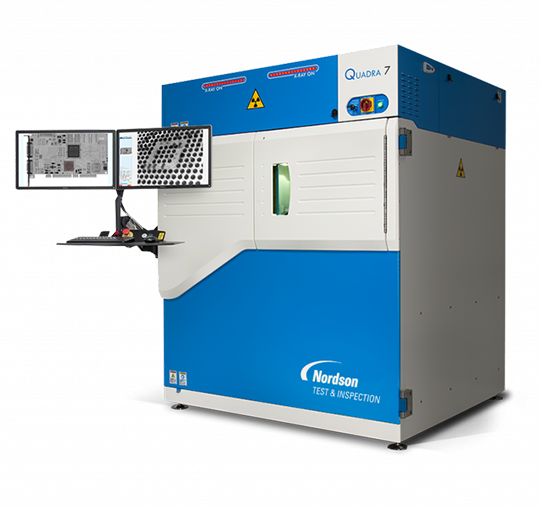
QUADRA 7
The machine has a resolution of 0.1 µm/pixel and allows for acquisitions in four different modes:
START NOW!
Fill out the form and you will be contacted for any information and quotation related to the service.
Examples


FAQ - X-RAY ANALISYS
Yes, X-rays allow access to the internal structure of components, such as the junction of a diode, the metal frame of a die, or the wire bonding of an integrated circuit.
Yes, to check the integrity of the traces (open/short) and the copper planes, provided that the PCB layout and the overlapping conductors allow for it.
Generally, it is not; only in the case of large samples undergoing tomography is there a dimensional constraint for the sample holder of 4x8 cm. However, in these cases, the situation can be resolved through laminography, which still provides a 3D reconstruction, albeit with less detail, but is often still capable of identifying the issue.
Yes, the maximum allowed weight is 5 kg.
It's not always possible to detect such small distances, but the machine allows for the detector's tilt angle to be changed up to 270° to enable analysis from different angles. If I can't clearly identify a defect, I can still locate a suspicious area to analyze using more detailed techniques (such as a micro-section).
The machine allows for adjustments in working voltages and currents, enabling the analysis of non-metallic materials as well.